
Ever needed a mannequin for your latest sewing project? Real mannequins can be expensive, and even the fancy, adjustable ones aren’t guaranteed to be an exact body double for you. Luckily, it is both easy and cheap to make a mannequin at home. Best of all, you can be sure that the mannequin will be an exact replica of your body. This means that any garments you sew on the mannequin will fit you like a glove!
Part 1
Making the Body
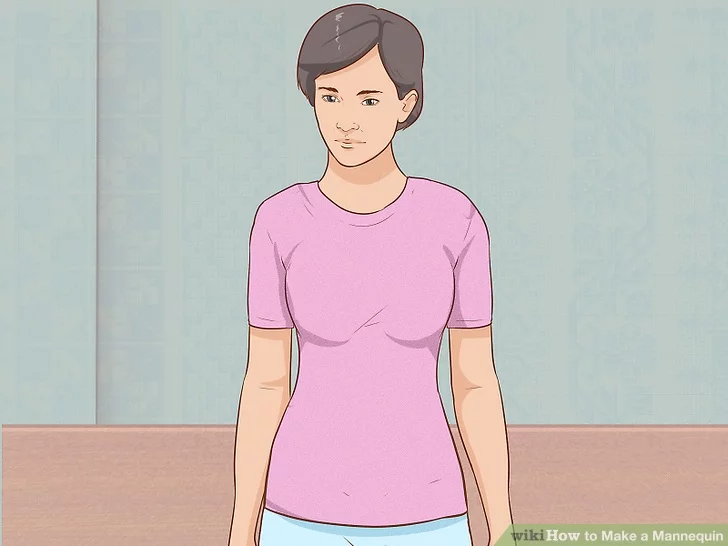
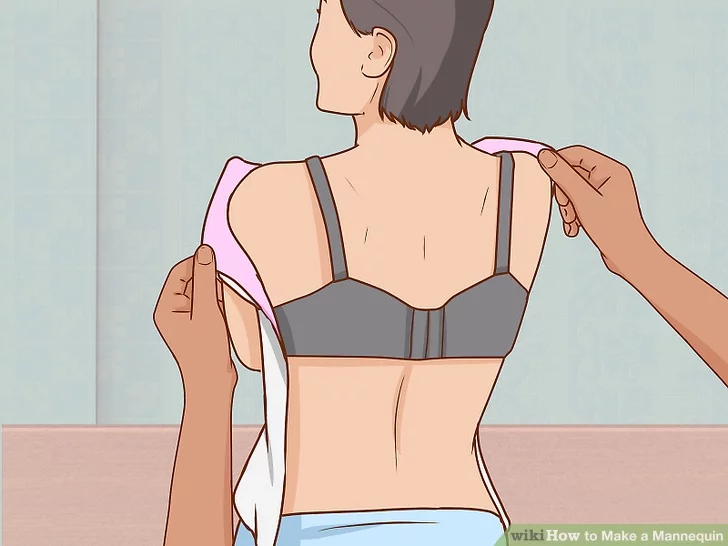
- 1Put on an old, fitted shirt you don’t mind ruining. Make sure that the shirt conforms to your torso without too many wrinkles. Also, make sure that the shirt comes down to your hips. Don’t wear a baggy t-shirt as it will create too much bulk.[1]
- You won’t be able to salvage this shirt. You will cover it with tape an cut it up.
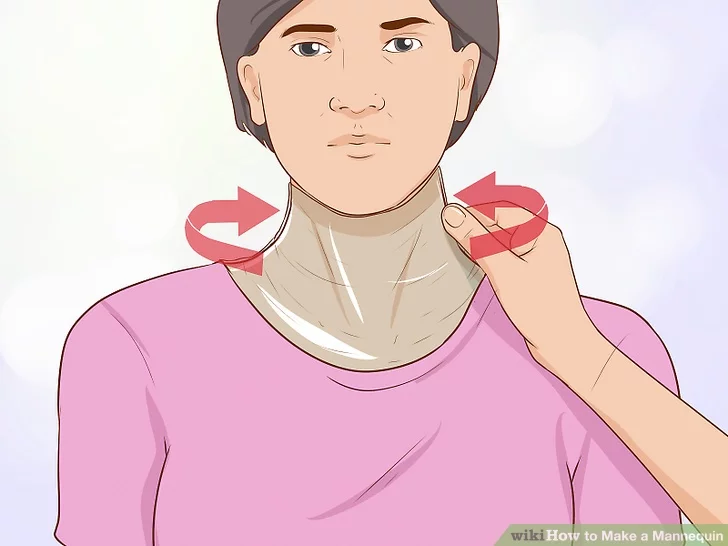
- 2Cover your neck and collar area with plastic wrap. Tear off a sheet of plastic wrap and fold it until it’s the same height as your neck. Gently wrap it around your neck. Tuck the two ends under the front color of your shirt so that no skin is showing. You will eventually be taping up your neck as well, so you need to protect the delicate skin there.[2]
- If you don’t have plastic wrap, you can use paper towels instead.[3]
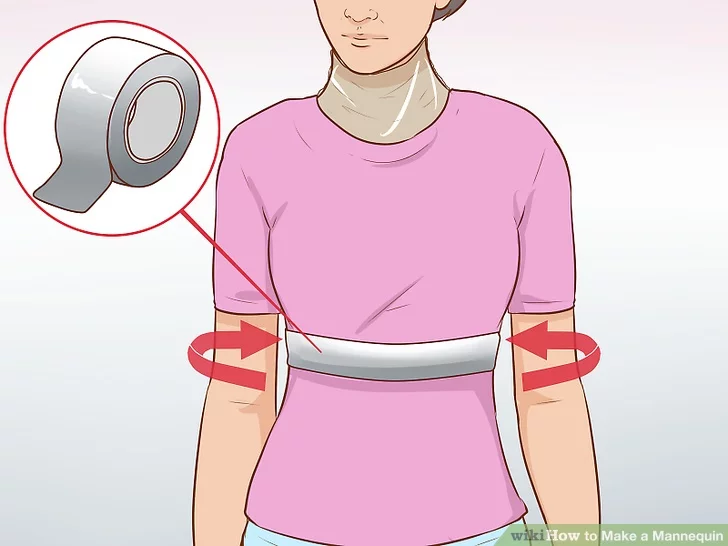
- 3Wrap a strip of duct tape around your torso, just under you breasts. Make sure that you wrap it firmly so that it conforms to your figure, but not so tightly that you can’t breathe.[4]
- If you are male, wrap the tape just under your pecks.
- You will need to have someone help you during this step, and for the rest of the steps in this part.
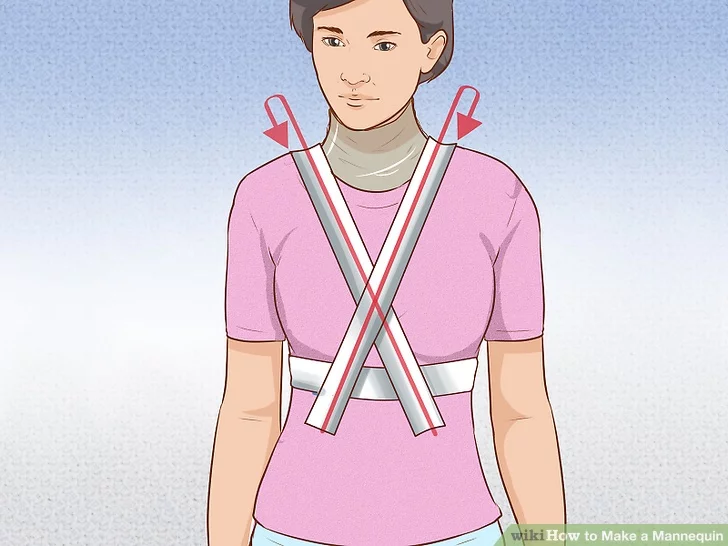
- 4Cross two pieces of tape across the front of your chest. Lay down one piece of tape so that it goes from your left shoulder down to the underside of your right breast. Lay down a second piece of tape so that it goes from your right shoulder down to the underside of your left breast. You should be left with an X-shape, with the center being between your breasts.[5]
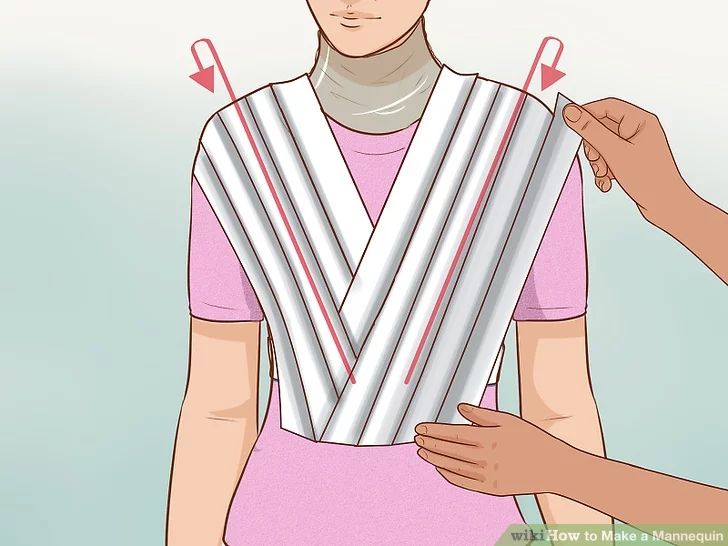
- 5Continue adding tape across the shoulders, breast, and back area. Lay down a strip of tape across your left shoulder. Bring one end down across your left breast towards the horizontal strip of tape. Bring the other end down across your back. Continue adding strips of tape until you reach the edge of your shoulder.[6]
- Overlap each piece of tape by ½-inch (1.27 centimeters).
- Repeat this step for the right shoulder and breast.
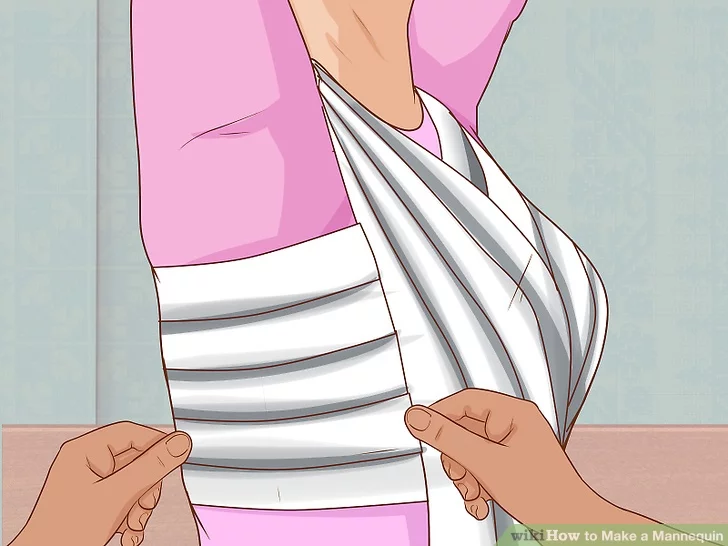
- 6Fill in the gaps under your armpit. Tear off smaller strips of tape. Lift up your arms, and lay them down across your ribcage horizontally. Be sure to cover the gape between your armpit and the horizontal strip of tape. Again, overlap the strips by ½-inch (1.27 centimeters).
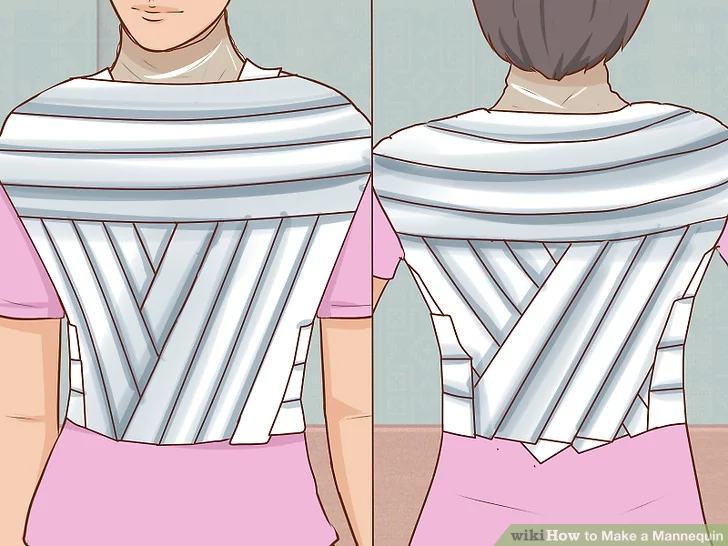
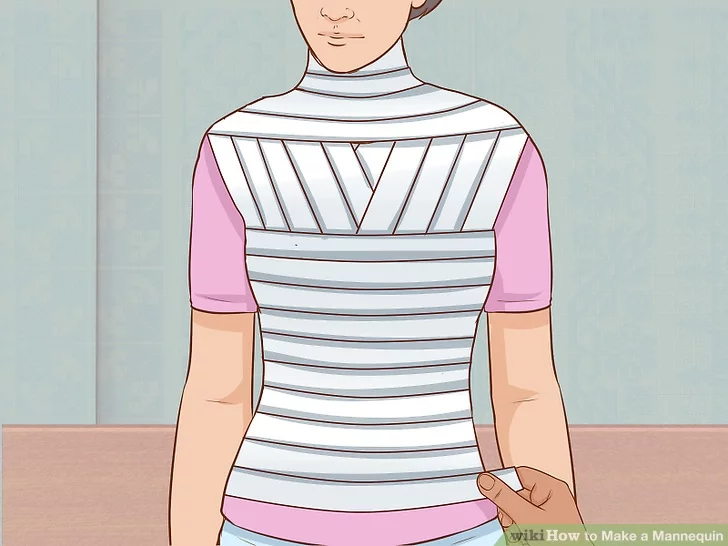
- 7Fill in the gaps on your back and chest. You should now have a V-shaped gape on your chest and back. Tear off more strips of tape, and lay them across your back and chest. If you have a low-cut shirt, make sure that your chest is covered by plastic wrap or paper towel.[7]
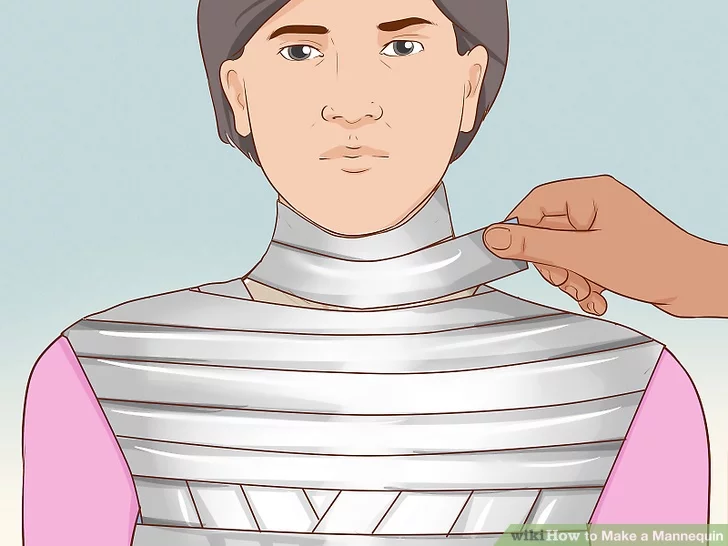
- 8Wrap the tape around your neck. Wrap 1 to 2 strips of tape loosely around your neck.[8] Use smaller strips to fill in any gaps showing through.
- 9Wrap more tape around your waist down to the bottom of the shirt. Keep wrapping the tape in rows, overlapping each one by about ½-inch (1.27 centimeters). Stop when you reach the bottom hem of your shirt.
Part 2
Stuffing the Body
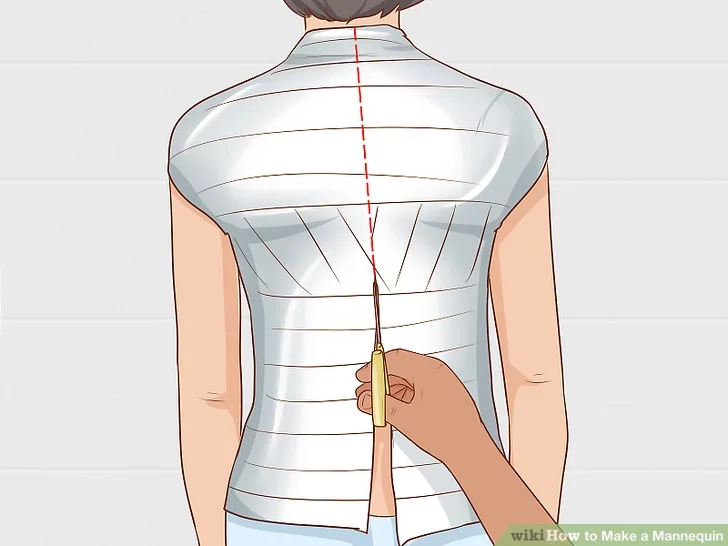
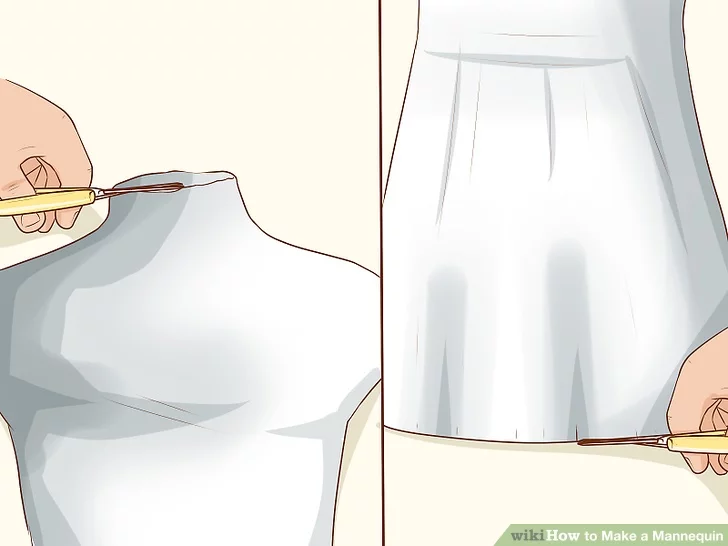
- 1Cut up the back of your duct tape shirt. Have a person you trust help you cut down the back of your duct tape shirt, from bottom to top. Make sure that they cut through the duct tape, shirt, and plastic wrap layers.[9]
- 2Take the shirt off. You should now have a body-double made out of duct tape. If anything became dented on the mannequin during this step, such as a breast, use your fingers to gently push it back out
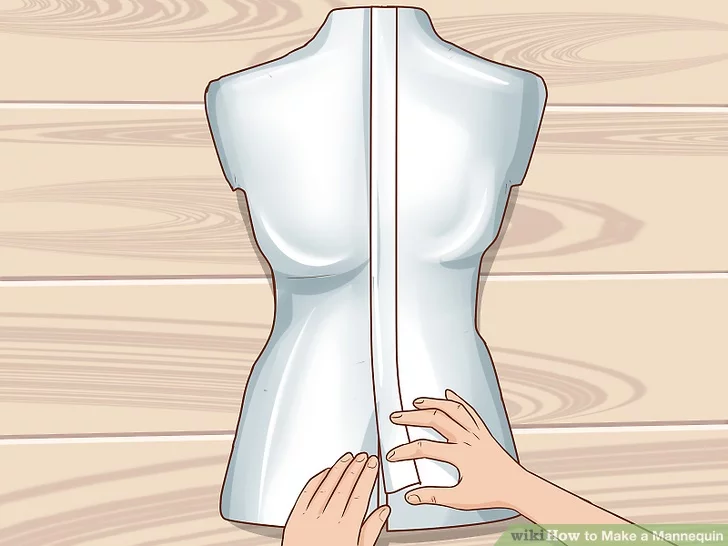
- 3Seal the gap with a strip of duct tape. Place the cut ends together so that they match up. Cover them with a strip of duct tape to seal the gap.[10] For extra security, apply tape to both the inside and outside of the shirt.
- 4Touch up the top and bottom edges, if desired. Take a look at the top and bottom edges of the mannequin. If you are happy with them, leave them be. If they look ragged or jagged, touch them up with more tape.
- Consider cutting the top edge of the neck down at a slight, downward angle to mimic a real mannequin. Make sure that you still have some neck left, however!
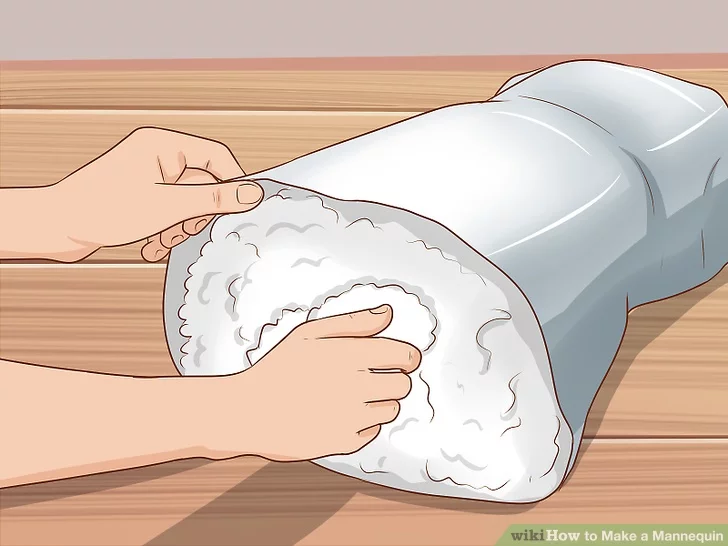
- 5Stuff the shirt with polyester stuffing. If you need to, cover the neck hole with a few strips of duct tape so that the stuffing doesn’t come out the other end. Keep stuffing until the mannequin feels full and firm. You will need about two bags of polyester stuffing.
Part 3
Finishing the Mannequin
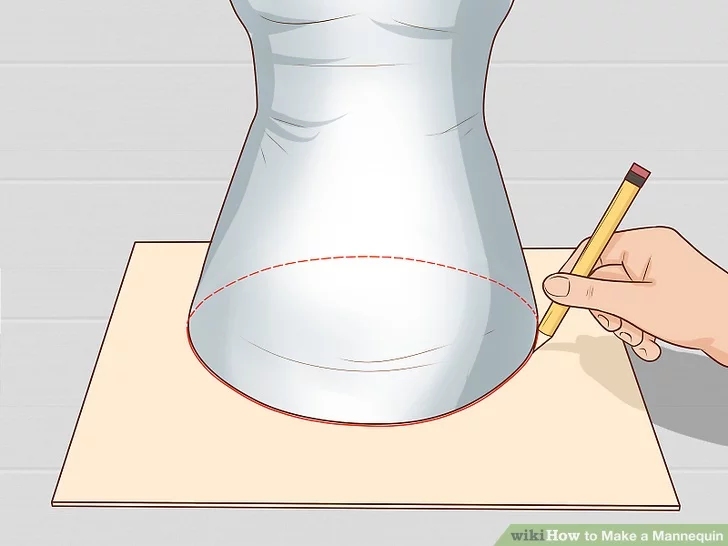
- 1Trace the base of the mannequin onto cardboard or foam board. Stand the mannequin upright on a sheet of cardboard of foam board. Trace around the mannequin using a marker. This will eventually make the bottom of your mannequin.
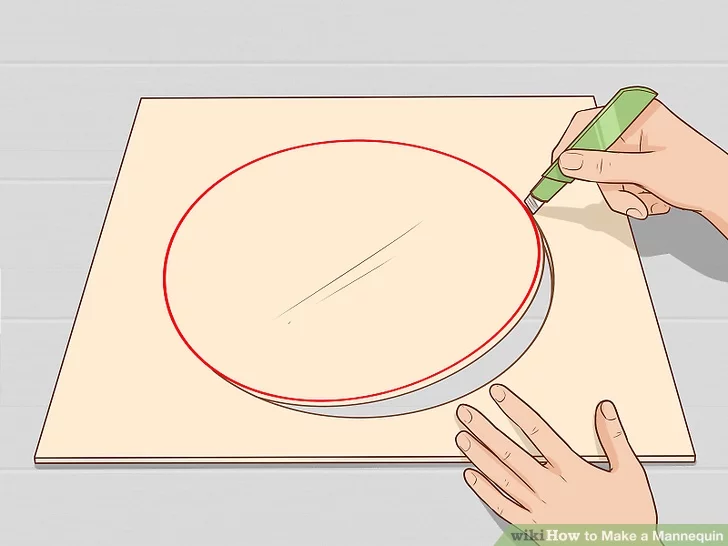
- 2Cut the base out using a box cutter or craft blade. Make sure that you cut just inside the lines that you drew. Make your cuts smooth and precise.
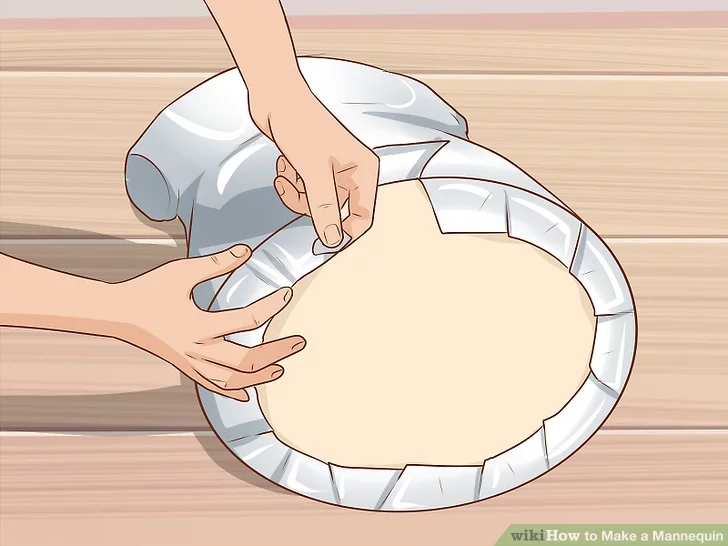
- 3Tape the base to the bottom of the mannequin. Turn the mannequin upside down. Set the cardboard base into the bottom of the mannequin. Fold short pieces of duct tape over the edges of the cardboard onto the bottom edge of the mannequin. If you want to, you can cover the entire bottom of the cardboard with more duct tape so that it matches the rest of your mannequin.[11]
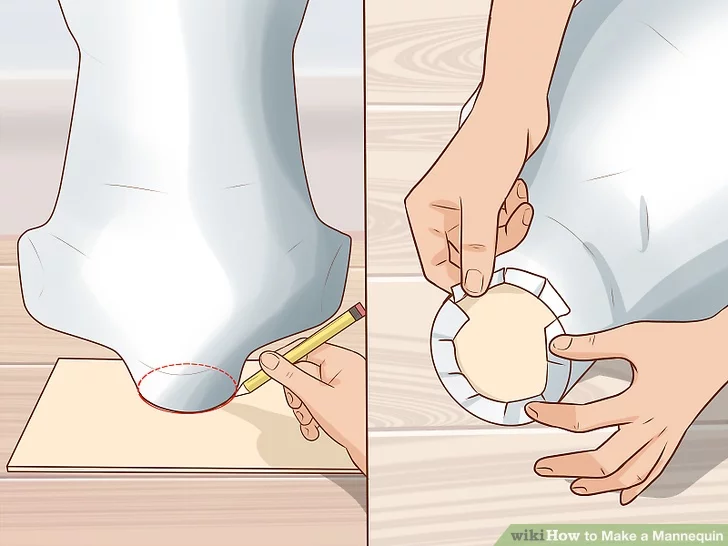
- 4Cover the top of the mannequin using the same method as you did for the base. Trace the neck opening onto a sheet of cardboard. Cut the circle out. Set it down on top of the neck. Secure it with strips of tape, all the way around. Cover the top of the cardboard with more tape, if desired.
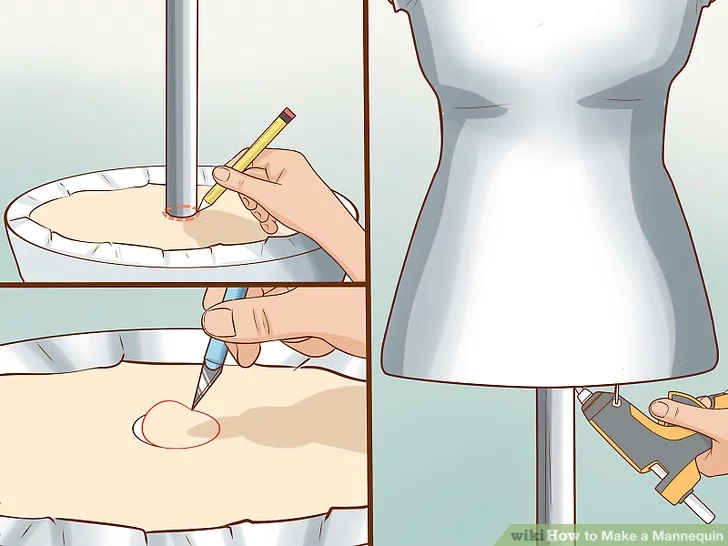
- 5Secure the foam base to a metal stand. Choose a sturdy, metal stand, such as a lamp post. Trace the top of the metal stand against the bottom of the mannequin. Cut the hole out, then set the mannequin on top of the stand. Seal the seam between the edges of the hole and the stand with hot glue.[12]
- For extra security, use epoxy or an industrial-strength glue instead.
- If you are using a lamp post, make sure that you cut away any wires so that you are just left with the metal stand.
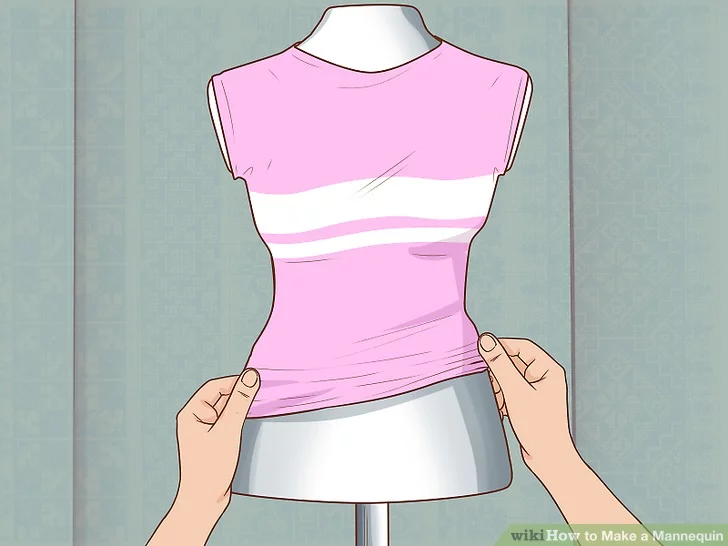
- 6Cover the mannequin with fabric, if desired. The easiest way to do this would be to find another fitted shirt, and place it over the mannequin. You can also sew a fitted, corset-like cover for it using cotton or jersey fabric.[13]
ADVERTISEMENT
Community Q&A
Question: Do you leave the clothes inside the tape?
Answer: Yes, you do. So, be sure to use clothes that you never wear, or that you don’t like. Make sure they still fit you though, otherwise, you might end up with a mannequin that is three sizes smaller than what you wanted!
Tips
- You can use any color of duct tape. For a more interesting mannequin, consider using patterned duct tape.
- You can use this method to make “casts” of your arms and legs using leggings and long gloves, or long sleeved shirts.
Things You’ll Need
- Helper
- Fitted t-shirt
- Duct tape (2 to 3 rolls)
- Plastic wrap or paper towels
- Scissors
- Polyester stuffing (1 to 2 bags)
- Cardboard or foam board
- Craft blade or box cutter
- Metal stand
References
- ↑http://www.handimania.com/diy/your-own-shape-sewing-mannequin.html
- ↑http://www.handimania.com/diy/your-own-shape-sewing-mannequin.html
- ↑http://verilymag.com/2012/10/break-the-rules-not-the-bank-make-your-own-mannequin
- ↑http://www.handimania.com/diy/your-own-shape-sewing-mannequin.html
- ↑http://www.handimania.com/diy/your-own-shape-sewing-mannequin.html
- ↑https://www.youtube.com/watch?v=7-5NkJPYS9U
- ↑https://www.youtube.com/watch?v=7-5NkJPYS9U
- ↑http://www.handimania.com/diy/your-own-shape-sewing-mannequin.html
- ↑http://www.handimania.com/diy/your-own-shape-sewing-mannequin.html
- ↑http://www.handimania.com/diy/your-own-shape-sewing-mannequin.html
- ↑http://verilymag.com/2012/10/break-the-rules-not-the-bank-make-your-own-mannequin
- ↑http://verilymag.com/2012/10/break-the-rules-not-the-bank-make-your-own-mannequin
- ↑http://verilymag.com/2012/10/break-the-rules-not-the-bank-make-your-own-mannequin
ADVERTISEMENT