
Mats are used in framing photographs and artwork to center the focus of the picture and give it a sense of spatial depth. The addition of a sleek, well-cut mat can greatly enhance the look of any framed picture, but having a mat cut and frame made commercially can sometimes cost more than the picture itself. A cheaper solution is to learn to cut your own mat frames using a handful of basic materials that allow you to fully customize the look of your framed picture for a fraction of the cost.
Part 1
Gathering Your Materials
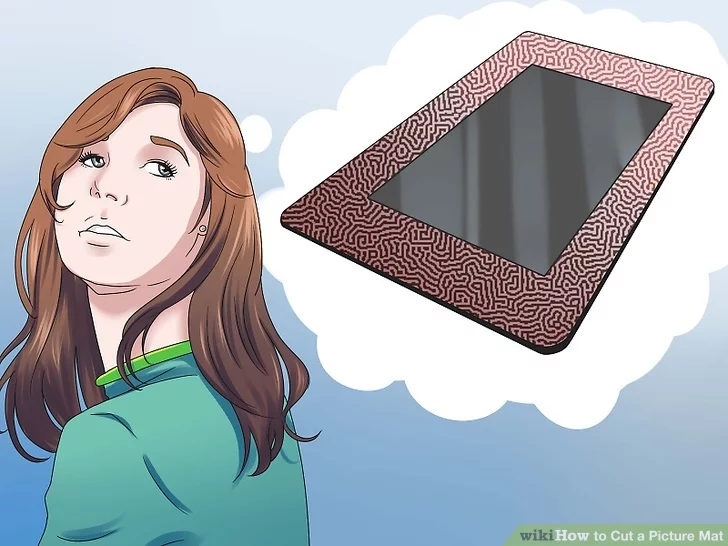
- 1Have the picture you want to frame ready. Take a look at the picture and get an idea of what size mat and/or frame you’ll need. The completed project will consist of your picture sandwiched between two uniformly sized mats, with the center of the frontal mat cut to display the picture. You’ll need at least two pieces of mat board: one to serve as the backing for the picture and the other to cut a “window frame” that wraps around the front side of the picture. Larger pictures, like artwork headed for exhibition, will obviously require larger mats, but the exact specifications of the mat will also depend on how much of it you want to be visible around the picture.
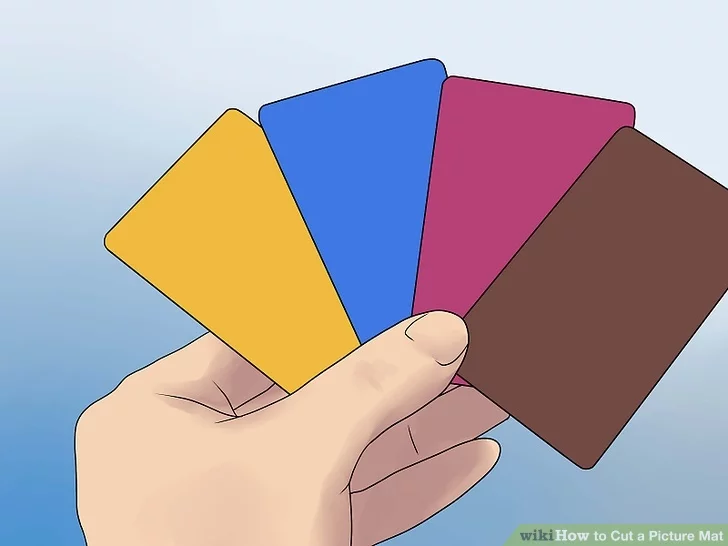
- 2Decide on a style of mat that you like. Mats come in many different colors, designs and thicknesses. Pick a mat (or a number of mats if you choose to utilize multiple layers) you like that is a good look for the picture you’ll be framing, then decide whether the mat will go around the edges of the picture in the frame or serve as a frame itself. If you think the picture you’re framing might benefit from the added depth of multiple layered window frame mats, select the mats in color and texture combinations that complement each other.
- Mat board comes in many different thicknesses. The thicker the mat you choose for cutting, the wider and deeper the “white line” created by the mat’s inner material will be around the edges of the finished piece. Consequently, thicker mat types might look better in plain white to hide the cut inner edges.
- Mat board is also available in two general quality ranges. Standard mat board is fine for photographs and prints that aren’t meant to be professionally displayed, while archival mat board is exhibition quality and therefore costs more. Archival mat board should be used with original artwork, especially when they’re done on archival materials with artist-grade art supplies.

- 3Choose a cutting implement. To cut the mat, you’ll need a sharp blade capable of cutting perfectly straight lines. The most readily available and least expensive option is a standard razor blade or box cutter with a fixed handle. You can also purchase a specialty sliding mat cutter tool, but these tend to be more costly and require more of a learning curve to use without making mistakes.
- Razor blades, X-Acto knives and box cutters all make use of extremely sharp exposed blades. Be very cautious when handling these tools.
- Mat cutting kits can be purchased at most art stores and make it easier to measure, align and cut mats in a single station, but will run you considerably more money.[1]
- 4Acquire a ruler or T-square. The ruled edge will be used to measure the mat to fit the picture and frame and to assist in cutting straight edges. The T-square has the added benefit of enabling you to measure precise angles. You’ll also need the ruler or T-square to keep the width of all sides of the mat consistent.
- Heavy metal rulers will work better, as they provide some weight to hold the mat steady beneath them and you won’t have to worry about damaging them with your cutting tool.
Part 2
Measuring to Fit the Mat
- 1Measure the picture you want to frame. Use the ruler to measure the height and width of the picture you’ll be cutting the mat to fit. Both of the mats you cut should match the dimension of the picture exactly; the inner area of the second (window frame) mat will need to be cut at least a half inch smaller than the picture itself to hold it in place. Write down the picture’s dimensions and set it aside for now.
- During this step you can decide how wide you want to cut your window mat to go on top of the picture. If only a portion of the picture needs to be visible, a wider mat will fill in the non-focal area around the edges and let you center the picture exactly where you want it.
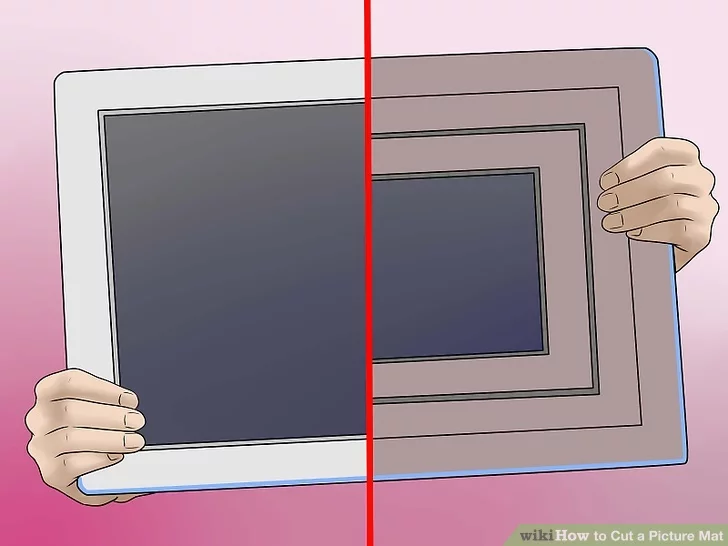
- 2Measure the frame. If you have a frame picked out that you want to use, remove the glass or plastic from the front and extract the backing board. The backing board is what you will be using for reference as the mats will be measured and cut to fit the inner part of the frame where the picture sits. Copy down the dimensions of the frame, making sure to differentiate what the various measurements are for.[2]
- Most frames you buy will already have their specifications listed. Disregard this measurement and take your own. Since it’s imperative that the mat you cut be able to fit the frame, it’s better not to take chances with sizing.

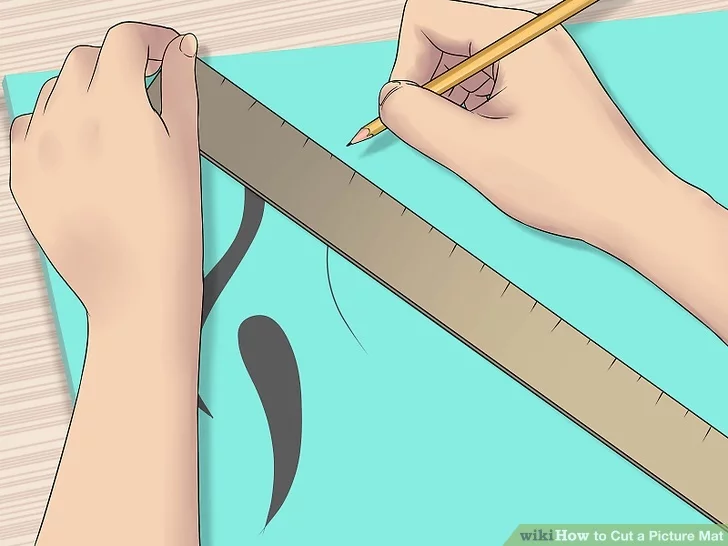
- 3Choose a size for the window mat. With the dimensions of the picture or artwork in mind, decide what size will work best for cutting the window mat. The window mat will be placed around the edges of the front side of the picture and will usually overlap the picture slightly, so settle on a window mat size that doesn’t obscure too much of the picture. On the back of the second mat board, trace the measurements of the picture where you plan to cut the window frame.[3]
- For most small-to-medium sized pictures, a window mat with a width of around .5″—1.5″ will provide a nice frame for the picture without covering too much of it.
Part 3
Cutting the Mats
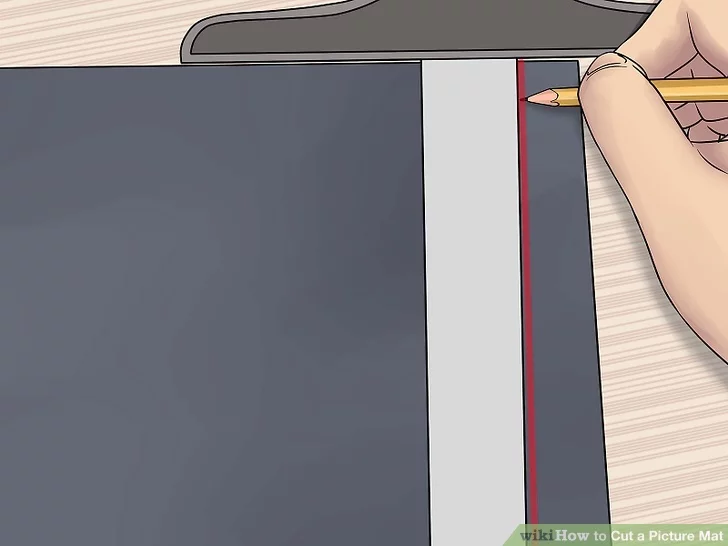
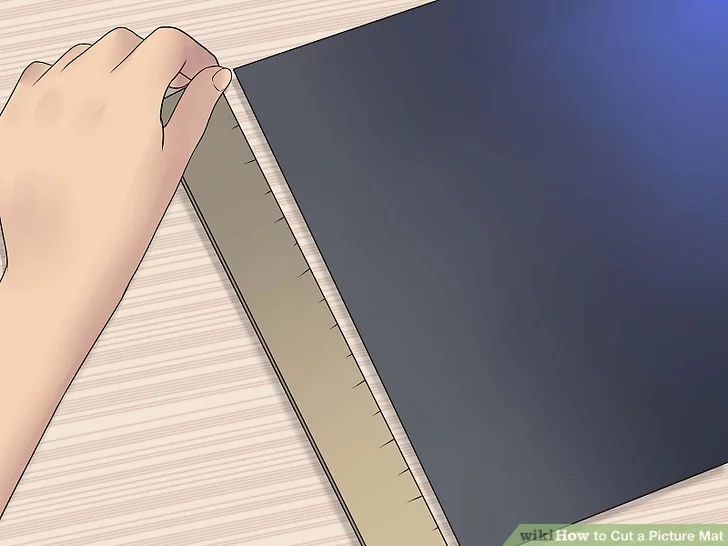
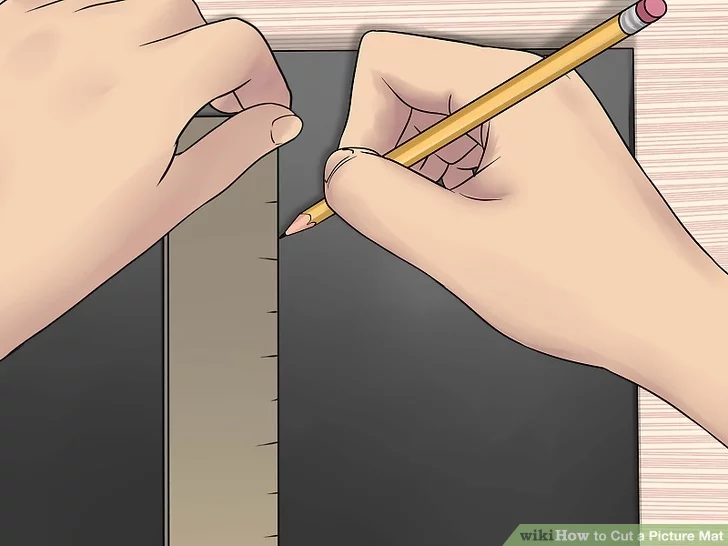
- 1Mark the first mat where it is to be cut. Refer back to the dimensions of the frame backing board you measured earlier. Using these measurements, place the ruler or T-square along the first edge of the mat and mark with a pencil on the back side of the mat where the cutting edge is to be. Start at the top edge of the mat and make a small notch every few inches. This will give you a dotted line to follow as you cut, and can help you realign the cutting trajectory if the ruler is to slip at any point.
- Always mark and cut from the back side of the mat. That way, none of your marks or cutting imperfections will be visible on the finished mat surface.
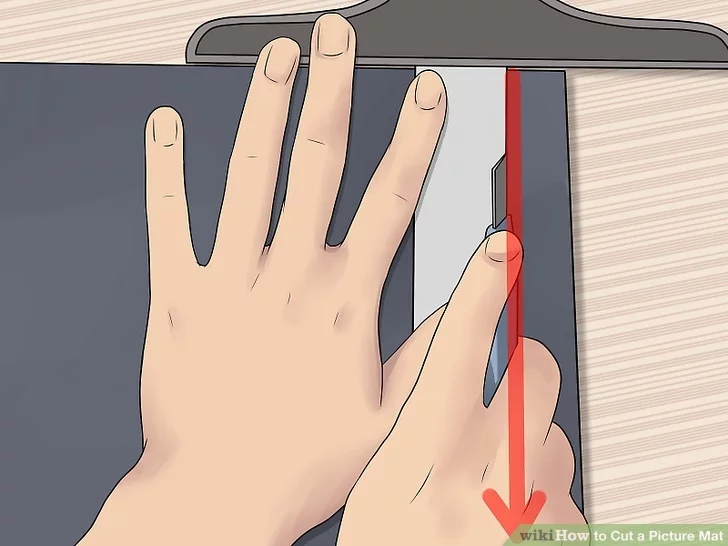
- 2Cut the first (backing) mat. Take the razor, box cutter or mat cutter tool and line it up with the edge of the ruler. Make sure the cutting edge is flush with the ruler; if you’re using a mat cutter tool, it will be a sliding attachment with its own ruled edge to ensure that the cutter doesn’t slip. When cutting manually, be sure to press firmly against the ruler or T-square to keep it from moving as you cut. Cut the mat with a slow, steady motion, applying equal pressure throughout the whole movement. Repeat the cutting process on the remaining three sides of the mat, checking again that the length and width are accurate and that you’re cutting the right amount.[4]
- Bear down hard when cutting the mat. It’s best to go all the way through on the first pass to keep the cut clean and straight, but if that’s not possible then make several lighter passes, watching for crooked cuts.
- To continue a cut that is only partially complete, push down vertically with your blade until you go all the way through, adjust the angle of the blade, and resume cutting.
- Remember: safety first. Severe injury can result from improper use of cutting tools. Cut slowly and keep all appendages out of the path of the blade.
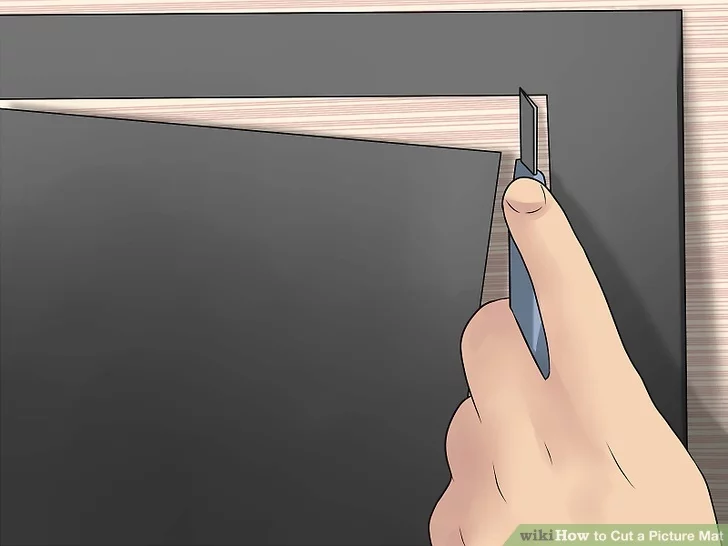
- 3Cut the second (window frame) mat. Cut the second mat board to the exact specifications of the first. You’ll be using this mat as the window frame for the front of the picture. If you’ve selected a mat of a fanciful color or design, it should be the one you use for the window mat, as it will be front and center in the frame and complement the aesthetic of the picture. Once again, let the ruler edge guide you as you carefully cut out the four sides of the window frame.
- The outer dimensions of the window frame should be the same of the backing mat, as they will be fitted together. The inner dimensions are a matter of preference, but generally a .5″—1.5″ window frame looks best.
- 4Create layered mats. If you want to create a more complex layered look, cut multiple window frame mats, each approximately .5″ to 1″ smaller than the previous one. Arrange the mats concentrically around the picture. When using layered mats, you can alternate various colors or designs, making the space around the picture deeper and more ornate.[5]
- When layering mats, be sure that you’re measuring and cutting each mat separately, and unless it’s part of the design, keep the size variations between the mats consistent.
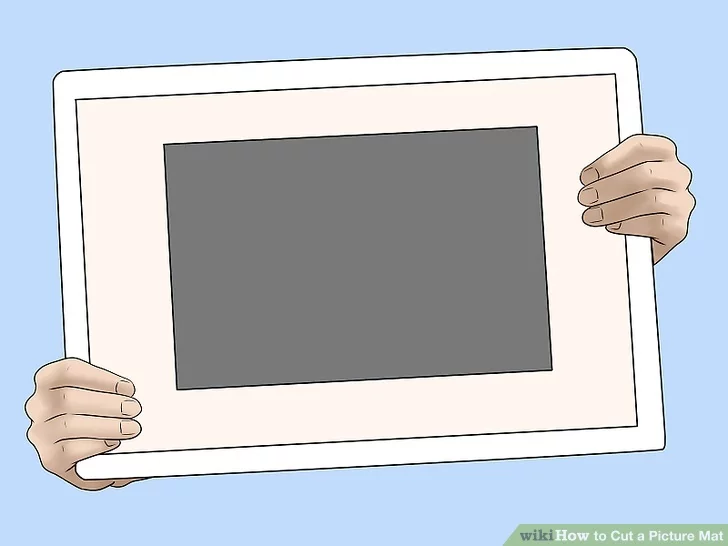
- 5Secure the mats. Place the picture against the backing mat and then center the window frame mat over it. Once you’ve lined up both mats and made sure the picture is centered, take small strips of artist’s tape and lightly stick the mat halves together. Flip the matted picture over and tape across the back edges. You can then remove the strips of tape from the front and the mats will be secured around the picture. That’s it! Insert the newly-matted picture into the frame or let the mats act as a rough frame themselves if you prefer.
- Stick the tape to a piece of fabric before applying it to the mat. If the tape is too tacky, you might tear the mat or picture when removing it.
- It’s recommended that you find an actual covered frame for original artwork once it’s been matted. Otherwise, you risk damaging or smudging the art if it’s left exposed.
Expert Q&A
Question: What color mats are in right now?
Answer: You have to take the colors of your home into account here. The mat shouldn’t clash with your furniture, walls, or the art itself. In other words, if you don’t have any black furniture or fixtures, black mats won’t look particularly good. In terms of what colors are in, neutral shades are really in right now. Grays, blues, blacks, creams, and beiges are all pretty popular.
Question: What is the best surface to cut on?
Answer: Try cutting on either a large and thick piece of wood or a cutting board. As long as the surface is solid and thick, it will work perfectly.
Tips
- To add extra depth to your mat, or as an alternative to the backing mat, consider the use of foam board.
- If you get marks on the face side of your mat board remove them carefully with a bag eraser or another crumble style eraser, available in most art stores.
- Check your ruler alignments against your blade by looking straight down vertically.
- Make sure you use the sharpest blades you can. Nothing ruins a good mat faster than using a dull blade.
- The most important tip for any kind of measuring and cutting tasks from framing to carpentry is the old adage “measure twice; cut once.” If you even have the slightest doubt that your measurement might be wrong, measure it again.
Warnings
- Matt cutting is harder than it looks. Patience and practice will get you there.
- If necessary, purchase an extra piece of mat board to practice cutting lines and angles until you get a feel for it. If you make a mistake cutting one of your two pieces for the picture, you’ll have to start over with a new piece.
References
- ↑http://www.dickblick.com/mat/cutters/
- ↑http://www.picture-frame-it-yourself.com/standard-picture-frame-sizes.html
- ↑https://www.loc.gov/preservation/care/mat.html
- ↑http://www.prettyhandygirl.com/cut-art-mat-like-pro/
- ↑http://www.logangraphic.com/blog/the-professional-framers-secret-for-cutting-a-double-mat/