
In your daily rounds, do you see noteworthy things that inspire your creativity? Carry a pencil and paper and record those images by hand. You will employ an “artist’s license” to give things your own flair, so your work will be the opposite of a photograph. Things seen and documented with your own eyes and hands become part of you. Years later, your drawings will continue to speak to you and transport you back to that moment in time. No matter how simple they might be, you will feel pleased to have done them.
Part 1
Assembling Your Supplies
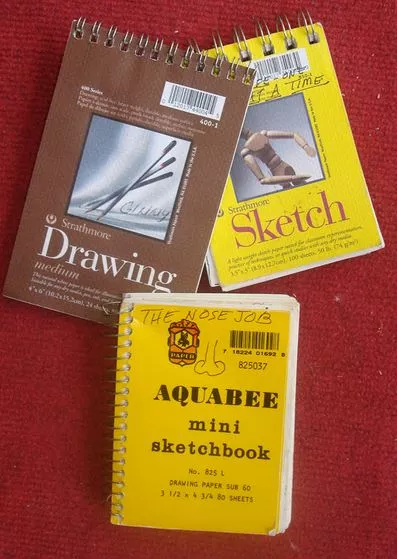
- 1Make sure you have all the right tools on hand. A (No.2) pencil, a pencil sharpener, pieces of paper or a small, pocket-size, spiral-bound sketchbook. Optional: a stick of sanguine (rust colored) Conte crayon, a medium gray pastel stick, a charcoal pencil, a travel set of watercolors, and a brush. Also, a pencil case to carry your supplies.
- 2Decide what you want to draw. Find a place to settle yourself. Become a “fly on the wall,” perhaps sheltered from others so you will not be disturbed as you think and work. Engage all your senses and open yourself; let things come to you.
- 3Jot down, in words, your impressions. Lose the fear of a blank page by describing the scene in words, record your impressions. You could list the specifics of your situation at that moment; your location, weather, wind, temperature, etc. Just start making marks on the paper. Whatever it takes to help you open the eye-to-hand connection and get those lines flowing.
- 4Pretend you are a camera and focus on a striking image. The world abounds with eye-catching things. Once you begin this activity, you will be inundated with material worth documenting on paper. Just the process of singling out an image and recording it brings it to life.
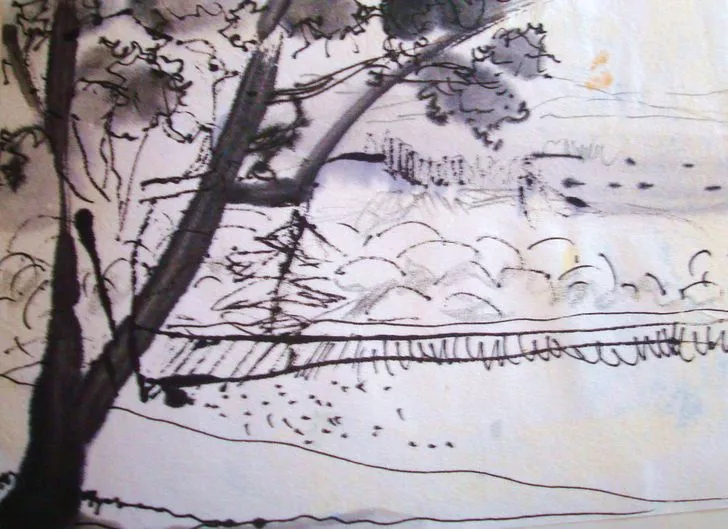
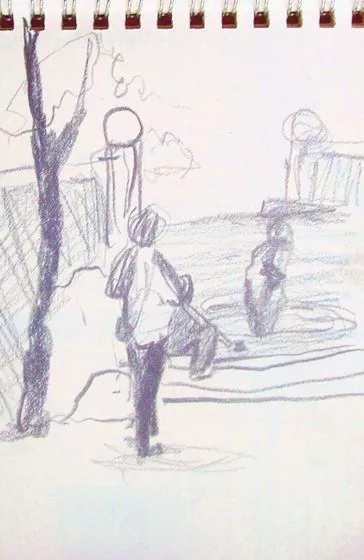
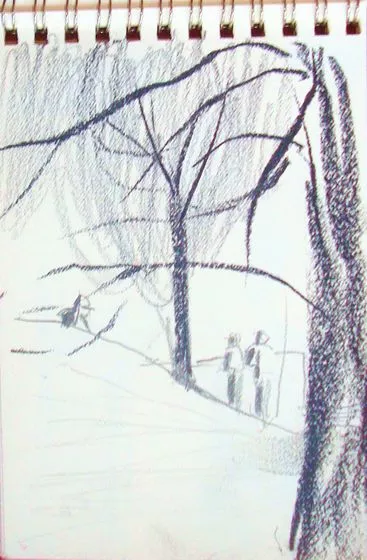
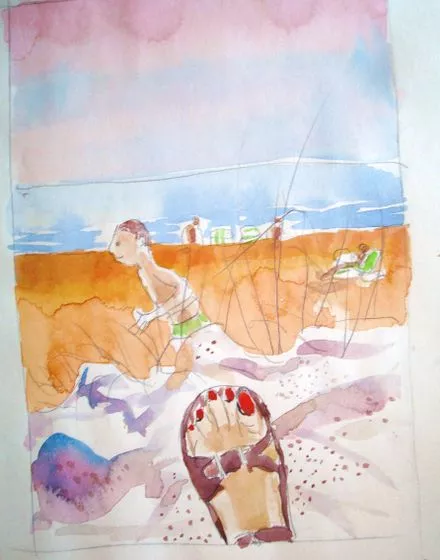
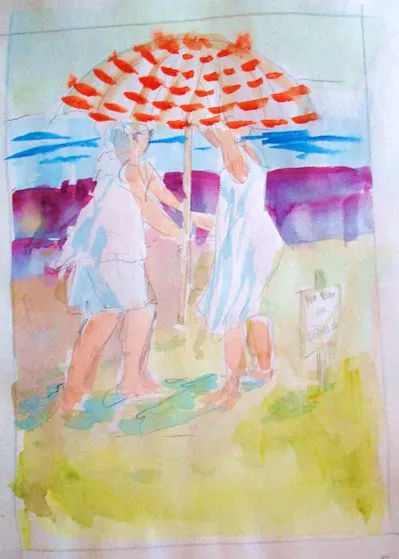
- 5Go outside to take in nature. Trees, treetops, branch patterns, tree trunks with differing bark, how trees are connected to the ground, etc. The sky, clouds, layers of color or shades of value from white to grays, to black. Sturdy weeds, seed pods, grasses, tiny flowering plants, rocks, pebbles, etc. Flowers, shrubs, wildflowers, planted flowers in all stages of growth.
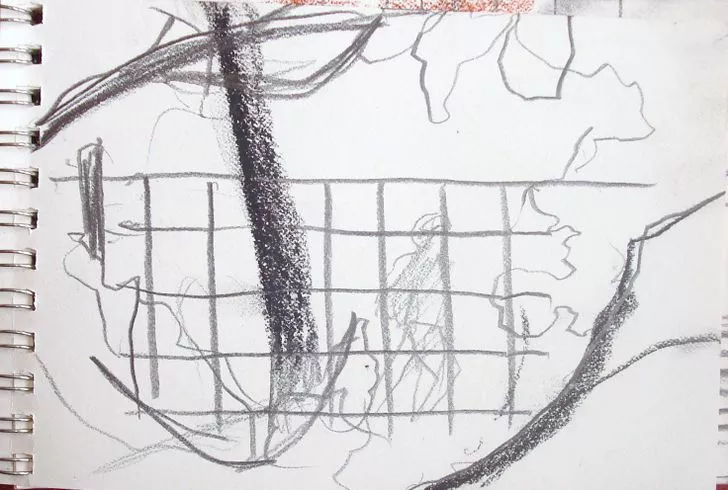
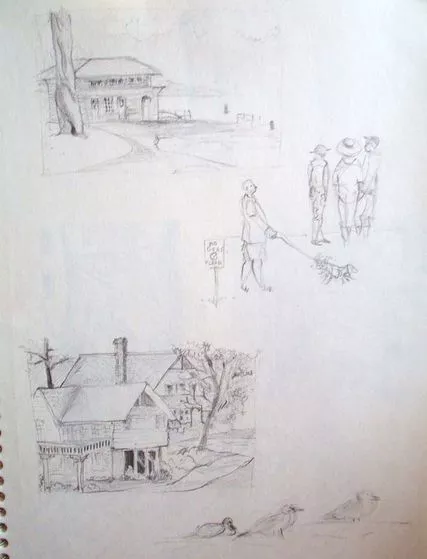
- 6Look at man-made offerings. Cast off paper, bits of thrown away junk on the ground. Park benches, seats, boats, buildings, cars, bikes, walkways, bridges, fences, walls, etc. are rich material.
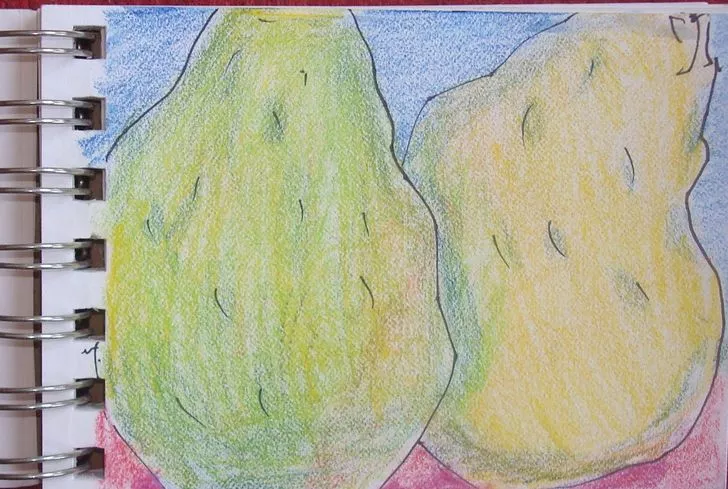
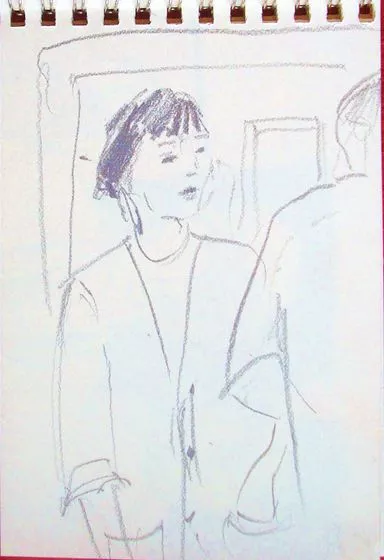
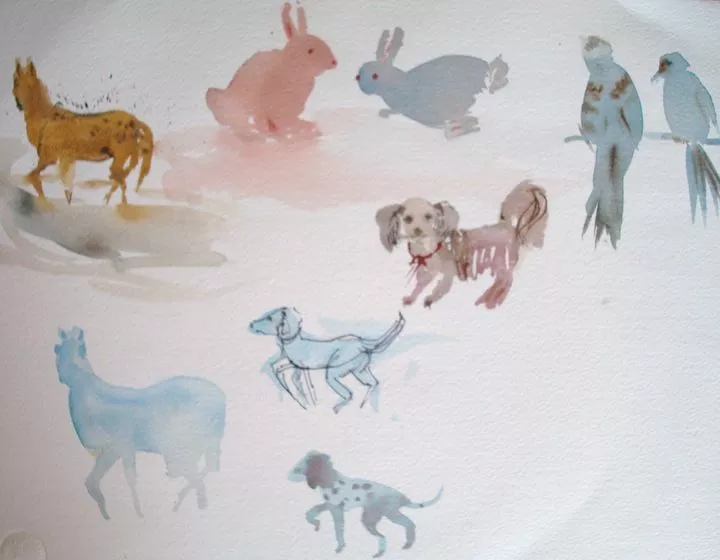
- 7At home, pick what interests you. By working in a series, you might explore the facets of a single thing, for example your morning coffee accouterments and routine. You might want to celebrate a particular food or fruit. You can make a visual collection of random images. Open yourself go with it.
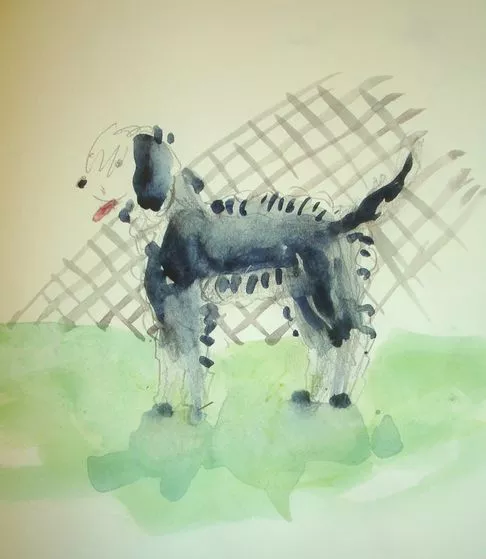
- When stumped begin with a single thing, for example, a clump of weeds or dog passing by. Then work out in all directions from that central figure until you come to the edge of your picture plane or paper.
ADVERTISEMENT
Part 2
Making Small Sketches
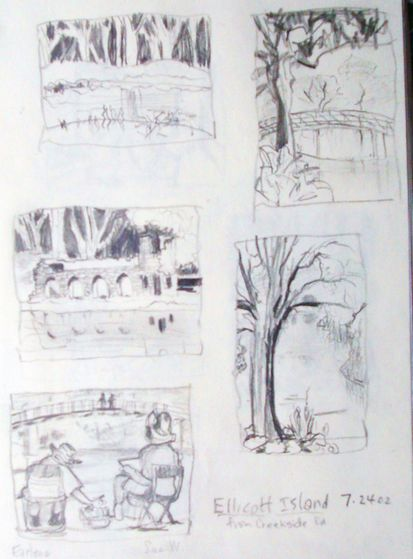
- 1Draw a rectangle, approximately 3 ½ by 4 ½ inches, or another small geometric shape, if using sheets of paper. This gives you parameters and provides a frame for your sketch. Vary formats, work horizontally vertically, square, etc. If desired, these can later be transferred to a “scrapbook” or “photo album,” even a page that you paste into a colorful collage.
- 2Work quickly to capture the essence of a thing. Divide what you see into three or four basic geometric shapes, like a puzzle within your picture plane. Try making initial lines touch two or more edges of your paper.
- 3Add texture liberally. Repeating one shape to create a pattern results in texture. Push it. If the texture is subtle, play it up to make it more dramatic.
- 4Move things to your liking. No need to draw exactly what is in front of you, shift things to suit yourself. It’s all about the art work, designing a page, not necessarily capturing reality.
- 5Explore the possibilities of your (No.2) pencil. Use the sharp point with everything from light pressure to heavy pressure. Tip the pencil to the side and rock it as you sketch. Draw lines that go from thin to fat. This is called a weighted line and can quickly depict the volume of an object, such as a tree trunk or rock.
- 6Shade with the pencil. Turn in on its side and rub an area of your sketch. Show where the light is strong on the object as the white of the paper, to where it is in shadow. Shade your textural areas to make them appear almost three dimensional.
- 7Blend your shading with a finger. Or not. If you desire a less smooth transition from one area of shading to another, leave the pencil marks alone.
- 8Crosshatch to get shading. This is simply doing a series of lines in one direction and then repeating them in the opposite direction.
- 9Refine your simple drawings. If you want more detail, put it in. You can manipulate your drawings, taking them from abstract to realistic. Drawings comprised of lines that are rough and retain a gestural quality to those that are delicate and refined, each has its own beauty. Retain and celebrate examples of each.
- 10If working in a sketchbook, simply open it and begin your journey.
Part 3
Coloring Your Sketches
- 1Practice holding your watercolor box. Most have a thumb hole and are lightweight. Your palette and paints are designed for working on the fly and quickly become an extension of your non-dominant hand.
- 2Get a water supply for painting. It doesn’t have to be much, but change it often, when it gets dirty. Fill a discarded cup halfway from your water bottle for drinking.
- 3Wet your paints with water from your brush to activate them.
- 4Go back to your pencil sketches and begin with one of them. Paint within the lines or more abstractly. Paint only what is most important and leave the rest black and white lines. Paint softly or use harsh shapes and colors.
- 5Work back in with other media. Try painting directly without sketching first. Explore the unlimited possibilities.
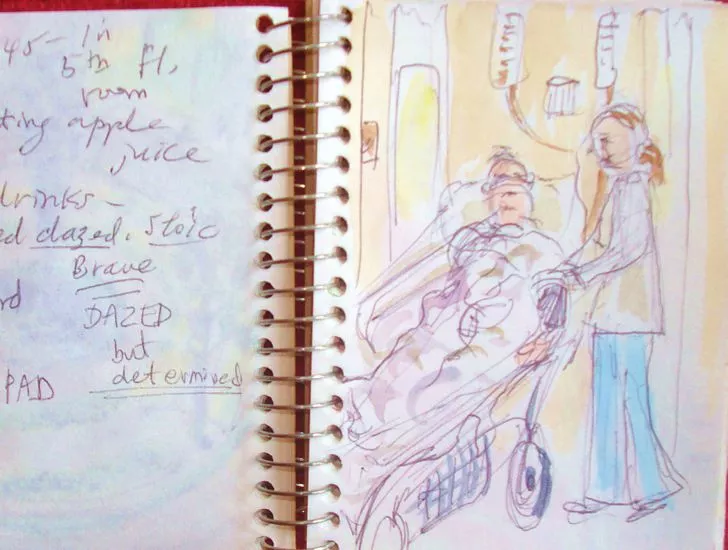
- 6Think of your sketchbook as a good friend. It is there when you need it and can be called upon in times of need. Its value grows with use and familiarity. It helps pass the time, even easing you through difficult events. Keeping sketches is a gift you give yourself.
Tips
- People are drawn to artists at work. Folks have a natural curiosity to see what is going on, so be polite and remember they are just interested. Share to whatever degree you feel willing to. It’s OK to say that you need to concentrate on your work if a person gets too talkative.
- Take your own reference photos if you think that later, at home, you will want to have specific details of the scene or object you are working on.
- Add other supplies to keep your interest alive. Ballpoint or gel pens in black or colors. Magic markers, crayons and pastels. Fine line pens with permanent ink are good, but water-soluble pens will run when wet and can give wonderful accidental effects when used with watercolors.
- These small sketches would be nice displayed in a purchased collage picture frame. Leaving them in the spiral book makes for easy storage in a purchased photo box.
Warnings
- Be respectful of sketching other people and keep facial details of others non-descript. Avoid doing detailed drawings of the children or babies of strangers.
- Always be aware of your surroundings and stay close to people. Creating art is so engrossing, it is easy to lose yourself in it, so be careful of the passing of time. Better yet, work with a buddy.